Contents
GMC Yukon Bulb Size Chart
| 2020 Gmc Yukon Chart | |
Headlight Bulb High Beam |
9005 |
Headlight Bulb Low Beam(with halogen headlights) |
H11 |
Headlight Bulb Low Beam(with HID headlights) |
D3S |
Center High Mount Stop Light Bulb |
LED |
Brake Light Bulb |
LED |
Turn Signal Light Bulb Front |
LED |
License Plate Light Bulb |
2825 |
License Plate Light Bulb |
98 |
Parking Light Bulb |
LED |
Tail Light Bulb |
LED |
Daytime Running Light Bulb |
LED |
Turn Signal Light Bulb Rear |
LED |
Back Up Reverse Light Bulb |
921 |
Side Marker Light Bulb Front |
LED |
Side Marker Light Bulb Rear |
LED |
Vanity Mirror Light Bulb |
6612F |
Trunk or Cargo Area Light |
LED |
Dome Light Bulb |
LED |
Map Light Bulb |
LED |
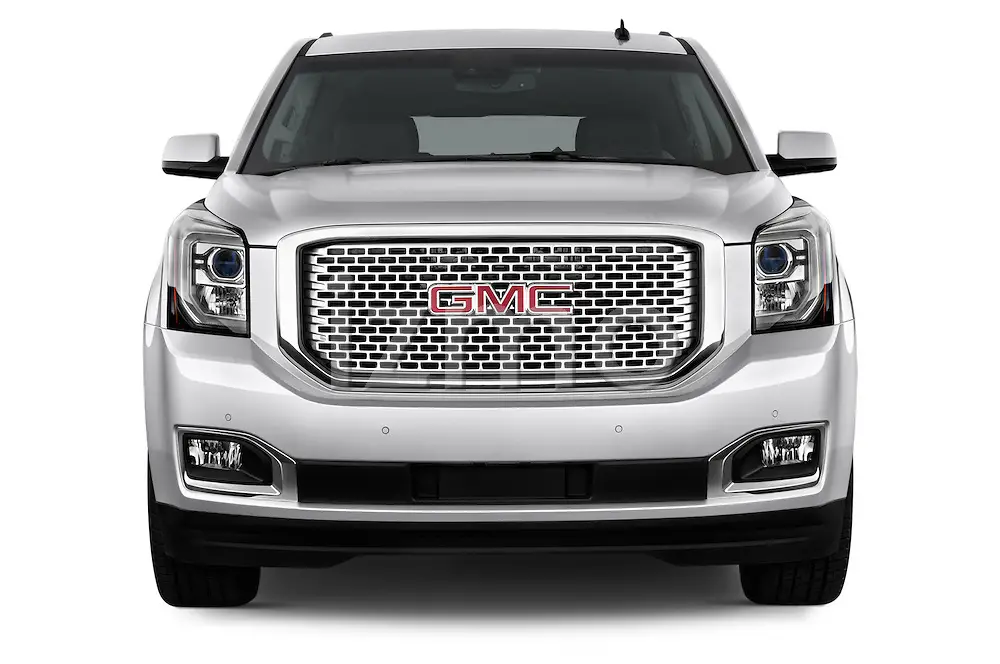
The GMC Yukon, a full-size SUV known for its robustness and luxury, requires specific bulb sizes for its lighting system to maintain its high performance and safety standards.
The correct bulb size is essential for the GMC Yukon, particularly for its headlights, tail lights, and turn signals, as well as its interior lighting. These bulbs are crucial for ensuring clear visibility and enhancing the vehicle’s safety, especially during night driving or in adverse weather conditions.
For owners of the GMC Yukon, understanding the exact bulb sizes needed for their specific model is important.
These sizes can differ based on the year and trim level of the Yukon. Using the appropriate bulb size ensures that the lighting fixtures fit correctly and function optimally, thus maintaining the vehicle’s performance and aesthetic appeal.
The GMC Yukon is a model of full-size SUVs manufactured by General Motors and its subsidiary, GMC. Introduced in 1970 as a trim level of the Chevrolet Blazer, it has been labeled “the original premium SUV.” The Yukon is the oldest SUV nameplate still in use today by GM.
The GMC Yukon is a large, roomy, powerful and promising full-size SUV that offers a lot more functionality than the average SUV on the market. The latest model boasts of Xenon High-Intensity Discharge (HID) headlamps that provide adequate light during night driving.
Headlight Bulbs By Year
1999 2000 2001 2002 2003 2004 2005 2006 2007 2008 2009 2010 2011 2012 2013 2014 2015 2016 2017 2018 2019Headlight Bulb High Beam - 9005 Looking for a brighter, longer-lasting headlight bulb? Fahren's 9005 LED headlight bulbs are the perfect upgrade for your car. These bulbs provide 3 times the light of a standard halogen bulb. The whole aviation aluminum body and unique hollow-carved heat sink design keep your bulbs cool even under extended use, while the 12,000RPM turbo cool fan ensures a long lifespan of up to 50,000 hours. Key Features:
Check On Amazon
Why we picked it: Check On Amazon
Check On Amazon |
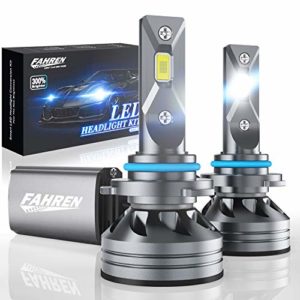 Fahren 9005/HB3 LED Headlight Bulbs, 60W 12000 Lumens Super Bright LED Headlights Conversion Kit 6500K Cool White IP68 Waterproof, Pack of 2
 Nilight 9005 LED Headlight Bulbs, 350% Brighter
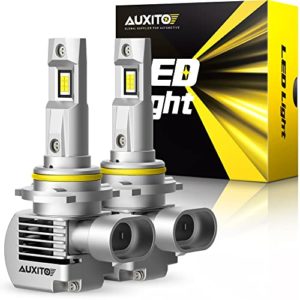 AUXITO Upgraded 9005 HB3 LED Headlight Bulbs 6000K White, 100W 20000 Lumens 600% Brighter
Bulb Type Used
Depending on the model year, the GMC Yukon uses different bulb types for its high beams, low beams, and fog lights. Bulbs that have been used in the past for the low beam headlights include 9006, H11, H6054, 9008, D3S, and 9005.
For its high beam headlights, bulbs used include 9005, H6054, and 9008. The fog lights come with either an H3-55W, PSX26W, PS24WFF, 880, 894, or 9145 bulbs.
Upgrading from factory bulbs to aftermarket LED/HID
Before upgrading to LEDs or HIDs, it’s important to ensure that you read the fine print. You can ask the salesperson or take a look at the labels yourself.
Upgrades may sometimes require you to buy more than one package. LED conversion kits for halogen headlights can cost you anywhere between $100 and $300 for a set. If you don’t have the expertise to install them, have a professional do it for you.
Advantages of upgrading to LED/HID technology
- Better light at night
- Longer lifespan
- Easy to install.
- Better aesthetics
- Easier to keep up with trends.
How to choose the correct bulb size
- Read your vehicle handbook
Look for a section within your vehicle handbook that contains details about your headlight bulbs. It’s typically found under “Maintenance”. Check to see what bulb size your GMC Yukon uses.
- Look at your old bulbs
Before discarding your old bulbs, take a look at them to see if you can find their part number. It could be a number like 9005 or H7. This represents the size of the bulb your vehicle uses.
- Online Search
We have a comprehensive GMC Yukon light bulb replacement chart that contains a list of all the bulb types your GMC utilizes. All you need to do is key in the model year and our database will generate the results for you.
- Contact your vehicle manufacturer
You can ring your car manufacturer to find out what bulb size your GMC Yukon uses. You may be required to provide your Vehicle Identification Number (VIN).
Installing new bulbs
The GMC Yukon is a large SUV, and has 5 bulbs used for the license plate lights. These are all of the bulbs needed for this “How-To” article:
1) License Plate Light Bulb (3157NA)
2) Back-Up Light Bulb (3156)
3) Brake Light Bulb (3057/ 3357NA or # 7425NA )
First, you must choose which light bulb type to buy that matches your preference. The 3157NA bulb fits in either socket. If you bought LED’s, then go with the 3057/3357NA because it will not be as bright as the stock 3157 bulb.
- Step 1 : Open Hood
Pry up on the hood release handle to open the hood, and secure it with a clip.
- Step 2: Locate Bulb Socket for License Plate Lights
Remove the socket from its location by turning counter clockwise.
Note: Some sockets have a “Notch” in them that will fit over a locking tab of another part. Be aware if you are replacing these bulbs, is that they may fall out of place unless locked into position.
- Step 3: Remove Old Bulb from Socket
Push down on bulb’s small metal tang/tab/clip, which is located at the top of the bulb socket behind where the bulb sits in place. The bottom of this metal tang/tab/clip will go through a hole in the top of the socket.
Pull the bulb out by grasping it with your thumb and pointer finger (in an “OK” hand sign).
Push new bulb into socket until metal tang/tab/clip locks into place. This is what it should look like:
- Step 4: Put the License Plate Light Bulb Socket Back into Location and Turn Clockwise
Twist socket back into original location and turn clockwise to lock in place.
- Step 5: Locate Bulb Socket for Back-Up Lights, Brake Lights, and Reverse Lights
To access this socket, you must first remove part of the interior’s lower trim panel located below where the steering wheel is at.
Insert a flat-head screwdriver between the trim panel and the bottom of the dashboard. Pry up gently until you hear/feel the panel release its locking tabs.
Grab panel by upper edge and pull out toward driver’s door.
Turn bulb socket counter clockwise to remove from its location in dashboard. The back-up light socket will look like this:
- Step 6: Remove Old Bulb from Socket
Push down on little metal tang/tab/clip, which is located at base of bulb socket behind where bulb sits in place. The bottom of this metal tang/tab/clip will go through a hole in top of socket (see photo above).
Pull bulb out by grasping it with your thumb and pointer finger (in an “OK” hand sign).
- Step 7: Put the Back-Up Light Bulb Socket Back into Location and Turn Clockwise
Twist socket back into place and turn clockwise to lock in place.
Push new bulb into socket until metal tang/tab/clip locks onto top of new bulb.
- Step 8: Locate Bulb Socket for Brake Lights, Reverse Lights, Third Brake Light
To access this socket, you must first remove part of center console storage drawer unit located at front passenger seat. The back will look like this pic below after removal and the brake light is the middle one on top row.
Once the drawer unit is out of the way, you will find two bulbs in parallel. The back-up light bulb is on one side and the brake/reverse/third brake light bulb is on the other side.
Turn socket counter clockwise to remove from its location in center console storage area. This bulb socket will look like this:
- Step 9: Remove Old Bulb from Socket
Push down on little metal tang/tab/clip, which is located at base of bulb socket behind where bulb sits in place. The bottom of this metal tang/tab/clip will go through a hole in top of socket (see photo above).
Pull old bulb straight out by grasping it with your thumb and pointer finger (in an “OK” hand sign).
- Step 10: Put the Brake/Reverse/Third Brake Light Bulb Socket Back into Location and Turn Clockwise
Twist socket back into place and turn clockwise to lock in place.
Push new bulb into socket until metal tang/tab/clip locks onto top of new bulb.
- Step 11: Locate New LED Light Strip and Pull Straight Out
You will need to push aside the wiring harness and find the new LED light strip. The strip is held in place with two metal clips (see photo below). Push aside each of these metal clips using your thumb and pointer finger, then pull out the LED strip by gripping both ends with one hand.
- Step 12: Unfold LED Strip
There are no wires on this side of the strip: only a row of LEDs, which will fit into back-up light socket.
Ensure that short wire coming off from end of strip is attached to left wire when facing front of vehicle (see photo below).
- Step 13: Insert LED Strip into Back-Up Light Socket and Twist Clockwise
Ensure that short wire coming off from end of strip is attached to left wire when facing front of vehicle (see photo below).
Push LED strip into socket and twist clockwise to lock in place.
- Step 14: Working on the Inner Fender Well
The large metal clips holding the wiring harness should be just above your head when laying down on driver’s side inner fender well (see photo below)
The two metal clips holding back-up light strip onto bottom edge of black plastic underpanel will be within reach (see photo below). Just push/pull each metal clip outward and free up the LED strip.
- Step 15: Re-attach Wiring Harness
Now, re-attach the wiring harness to the new LED strip. Push aside metal clips and push black tab with wires back into place.
- Step 16: Close Inner Fender Well
Open up and close inner fender well so its D shaped opening is facing you (see photo below)
Once this opening is facing you, carefully feed LED strip out through this hole. Ensure that no part of strip touches any sharp edges or plastic parts. If it does touch anything, then cut off bent/damaged part of strip with wire clippers and solder wires again to create new connection.
- Step 17: Re-attach Underpanels
There are four upper and four lower black plastic underpanels that need to be re-attached into place. The four upper clips are attached to the underside of the inner fender liner (see photo below).
Carefully push aside metal tabs and place panel in original location, pushing plastic tab back into place. Repeat for each underpanel.
Be careful not to pinch LED strip between edge of under panel and rubber gasket when putting panels back into place. Make sure strip is fully pushed behind gasket when positioning panels in the original location.
- Step 18: Re-connect Battery Cables
Once all eight underpanels are back in their proper position, go ahead and replace both battery cables onto batteries (+/positive to +/positive and -/negative to -/negative).
Take a look over your work to double check that no wires, panels or LED strip is in any way pinched. If all looks well, then you can re-connect the negative battery cable and start up the vehicle.
Additional Equipment
- Latex gloves to prevent you from touching the bulbs with your bare fingers.
- Screwdriver.
Q&A Section
How much does it cost to fix a broken headlight cover?
The average cost of replacing a headlight assembly ranges from $250 to $700 depending on the type of car you own.
Generations
- First generation (1992–2000)
- Second generation (2000–2006)
- Third generation (2007–2014)
- Fourth generation (2015–present)
Bulb replacement
Hi and thank you for watching two car pros garage today we’re going to show you how to replace your headlight bulb and your GMC Yukon first open the hood using the release latch located on the driver side dashboard open the hood and locate the headlight that you will be replacing remove the headlight pins causing the headlight to come loose remove the headlight from the mounting bracket and rotate upwards to gain access to the wiring harness two light bulbs using a small standard screwdriver remove the wiring harness from the light bulb remove the light bulb by rotating it clockwise it’s always a good idea to compare your light bulbs before you finish the repair install the replacement bulb then connect the factory wiring harness replace the headlight housing back to its mounting bracket be careful when doing this to not damage the cars exterior components last step is to install the headlight…
See Also:
A Guide to GMC Yukon Warning Lights (Symbols, Meaning & How to Respond)
Reviving Luminance: How to Clay-Barrel Your GMC Yukon Correctly
Chevy 5.3 Firing Order (Cylinder Numbers With Diagrams)
See More
Related Cars
Chevrolet Suburban, Chevrolet Tahoe, Nissan Armada, Ford Expedition, Toyota Sequoia

Consultant in the area of automotive lighting solutions. Previously working as a lighting sales manager for various light bulb brands, collected intensive expertise for effective vehicle lighting & signaling systems that are compliant with the UN regulatory requirements and standards in the United States and Canada.